I produce and host a monthly internet radio show called The Film Photography Podcast ( iTunes or http://filmphotographypodcast.com/ ) A listener named Rob sent me an e-mail expressing his frustrations of “color balance” from his Kodachrome slide scans. He wrote:
“I listen to your podcast every month and just looked at your blog and noticed the Kodachrome picture you recently posted.
By the equipment, I noticed you used what I assume is a flatbed scanner. I have a decent model scanner (Umax Powerlook 1100) and it takes me forever in Photoshop to get the original color of the slide.
How did you do your scans and what settings do you use? Do you have any specifications for scanning?”
I e-mailed him the following letter that I’d like to share here.
Hi Rob,
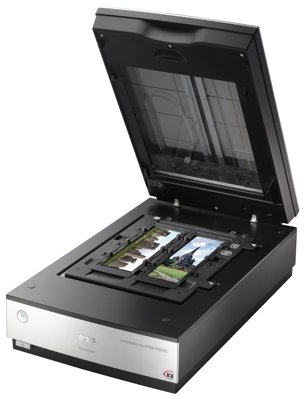
I’m using an Epson V700 scanner - scanning slides (including Kodachrome) using the Epson software that came with the scanner. I scan at 2400 or 3400 dpi, not making any adjustments (or corrections) in the Epson software.
I then open the image in Adobe Photoshop (I'm using Photoshop version 7).
I (almost always) have to make a color adjustment (Kodachrome images that I have shot and scanned always leane toward Magenta on the Epson v700)
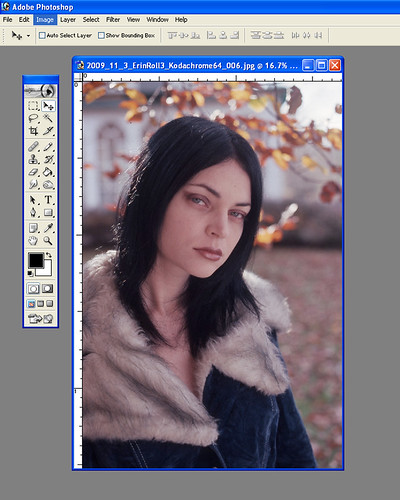
Erin Russ Kodachrome image in Photoshop 7.0 (scanned using the Epson v700). Upon scanning, expired Kodochrome film tends to lean to Magenta in the Epson v700
I select Image > Adjustment > Color Balance from the drop down pallet. Photoshop 7, gives me sliders that allow to adjust colors (Cyan to Blue) - (Magenta to Green) - (Yellow to Blue).
Photoshop 7 also allows you to select a drop down called Hue/Saturation. I've found the Hue adjustment in this drop down to be fairly ineffective in adjusting color. I have, however, found that the saturation slider quite useful of you want more color "punch" in your image.
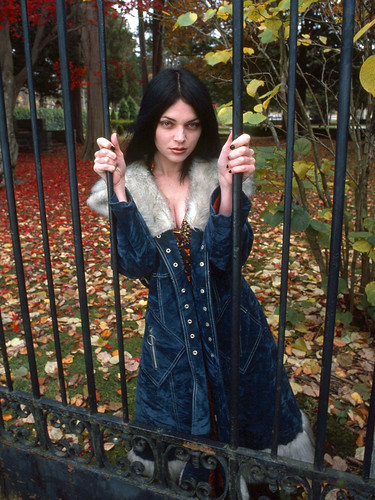
Lastly, minor adjustment in the white/black levels (drop down Image > Adjustments > Levels)
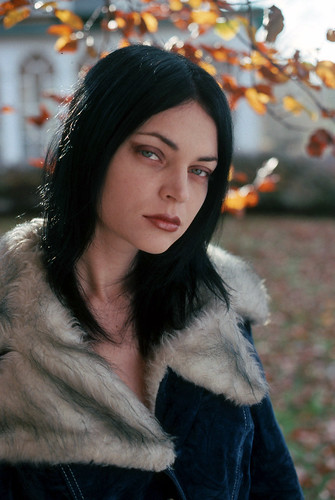
Final images after making minor adjustments in Photoshop 7
If you are not using Adobe Photoshop, snoop around in the software you are using to see if there is a similar function. If not, you might be able to download a trial version of Adobe Photoshop to try it out.
Note that many scanners come bundled with Photoshop Elements
Hope this was helpful
Michael Raso
Images © 2010 Michael Raso
Film Photography Blog
http://michaelraso.blogspot.com/
The Film Photography Internet Radio Show
http://filmphotographypodcast.com/
Film Photography Podcast Flickr Group
www.flickr.com/groups/filmphotographypodcast/
Thanks to the super Erin Russ.
nice photography blog...
ReplyDeleteReally i appreciate the effort you made to share the knowledge
color balancing